Tuesday, 9 June 2015

Grilled fish

In a country that lays so much emphasis on meat (beef), fish is somewhat of a treat and there's nothing simpler and more tasty than some oven-grilled hake.
First, take your baking tray and cover it with aluminium paper (which will prevent the fish from sticking and will make cleaning up afterwards a cinch). Pain the surface with some olive oil and place the fish fillets on top, seasoning with freshly ground black pepper and salt. I also used fresh oregano from the garden. To finish off, add a few thin slices of butter to the fish and the juice of a lemon. Bake for about five minutes (at most), depending on the thickness of the fish.
To accompany the fish (and because I had time and wanted to entertain my family), I made standard mashed potatoes and then piped them out onto the plate using an icing bag with a broad head. To complete the meal, nothing accompanies fresh fish better than a crispy green salad.
Foll me on Instagram: johncavernelis
Check out my Facebook page: Simple Foodies

Monday, 8 June 2015

Simple pasta sauce

To accompany the pasta I made in the previous post I made the simplest sauce ever. Dice an onion as finely as you can, crush a clove of garlic and add both to a deep pan with some butter, salt and pepper. Fry for a few minutes, until the onions are transparent. Next, take about three bell tomatoes (in fact, any tomatoes will do) and cut into wedges, removing the seeds. Cut the skins into small cubes and add to the onion mixture, along with some basil fresh leaves.
Once this has cooked through for a few minutes, remove your pasta directly from the boiling water and add to the onion/tomato mix (along with a bit of the cooking water). Toss the two together and you're done.
Add fresh basil leaves and a drizzle of olive oil when serving, along with some grated Parmesan cheese.
Follow me on Instagram: johncavernelis
Check out my Facebook page: Simple Foodies


Sunday, 7 June 2015

Making pasta

I am very aware of how easy it is to open up a packet of dry pasta or jet down to the shops and buy ready-made pasta. But when you need a bit of stress relief or even upper body exercise, there is little to replace the act of making your own pasta. And then there's the added benefit of making it the way you like with your own ingredients. Besides which, it is pathetically simple to make.
The simple rule of thumb is one normal portion of finished pasta is achieved by combining 100g of Tipo 00 cake flour to one large egg. So I used 400g of flour with 4 eggs for my family.
Pour the flour onto your work surface, make a well in the middle and crack the eggs into it. With a fork, beat the eggs. Now for the fun part: place the tips of your five fingers (one hand only) in the egg mixture and in a circular motion slowly start eroding the flour walls of the well. Very quickly you'll have a gooey mixture ... keep going and incorporate all the flour. Now for the stress relief. Start beating and pulling and knocking that mixture into a smooth-feeling ball (about five minutes). You'll feel the texture change the more you go at it.
Place this ball on a plate and cover with plastic film in the fridge for about half an hour.
Divide the ball into three pieces and, using a rolling pin, roll out as thin as you can get, always dusting with flour. Tip: to keep the flattened dough from getting away from you while you roll, have a piece hang over the edge of the work surface and lightly lean against it. Once the dough is very thin (and quite big), roll the edges up loosely toward the center so that you have two rolls. Now use a sharp knife and cut your pasta as thick or thin as you wish. When you are done, place the knife underneath and lift up and the pasta will drape down on either side of the blade. Drop onto the work surface and dust with flour. Repeat for all the balls.
This past is now ready to be cooked (be careful, fresh pasta cooks much quicker than dried pasta) or simply place in a plastic bag and freeze until needed.
Follow me on Instagram: johncavernelis
Check out my Facebook page: Simple Foodies

Friday, 5 June 2015

Chicken Roll

This dish has a few steps en route to the final product but they are simple and well worth the effort, especially when the final product is placed on the table.
In effect, this is nothing more than a chicken breast that has been (carefully) beaten flat, about the size of a medium plate. To achieve this effortlessly, place the chicken breast on the (clean) work surface and cover with plastic film and rub a bit of oil on top, to make it slippery. Then, using a heavy object like a kitchen mallet or a heavy-broad-based mug, trike the chicken at an angle, so that your blow glances off it. In this way you run less of a risk of breaking the flesh.
Once the breast is more or less evenly flat, remove the film wrap and season to taste: salt, pepper, herbs, whatever takes your fancy. Now spread a thin layer of moisture over the breast (mayonnaise or mustard or BBQ sauce) about 2cm from the edge.
Next add in hard veggies cut into finger-sized sticks (celery, carrots and fennel work well) and place them in a line along the breast. Next, roll the chicken breast up, making sure to tuck the sides in.
Place the roll on aluminium paper and roll tightly, sealing as best possible. Take this roll and place it in a pot of boiling water for about five minutes.
Remove and allow to cool and then remove the aluminium paper. You will now have a white, stiff chicken roll. In a deep pan with a little oil, fry the chicken roll until crispy and brown on the outside. Cut the roll in the middle, in a diagonal line, and serve with salad.
Follow me on Instagram: johncavernelis
Check out my Facebook page: Simple Foodies

Thursday, 28 May 2015

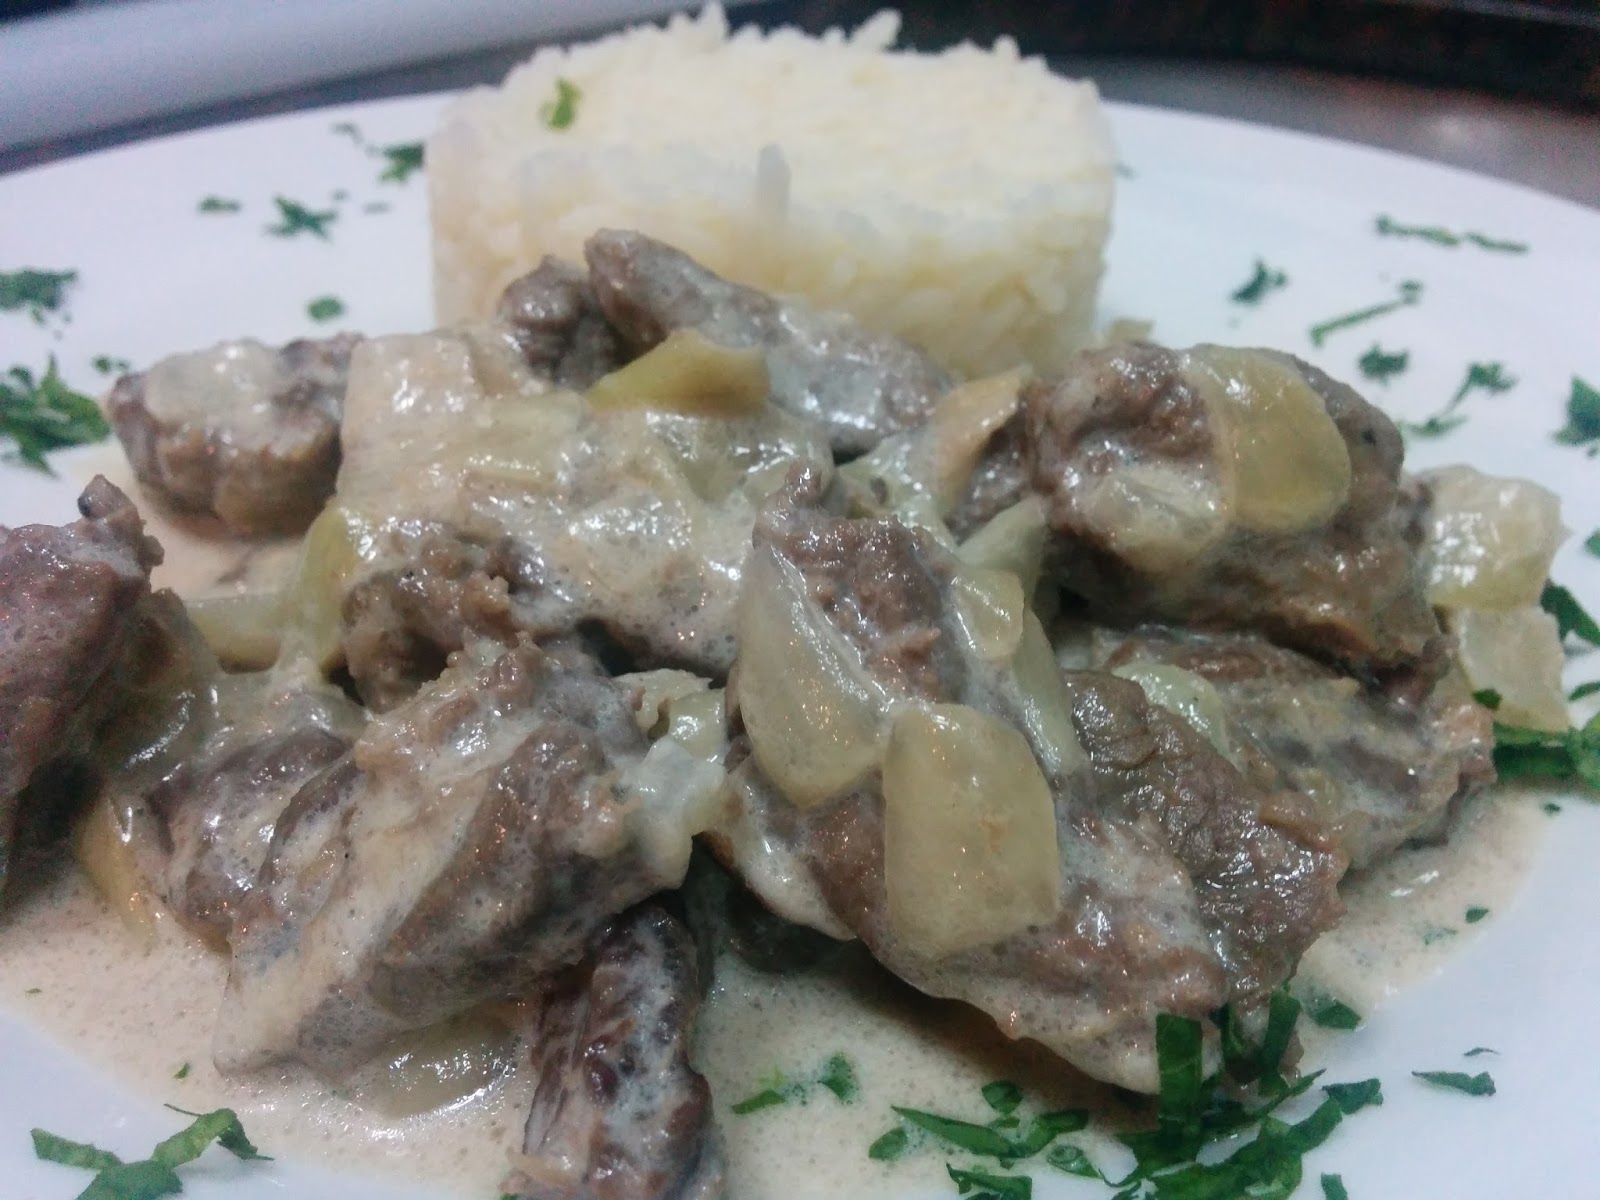
Sauteed beef with Shiitake mushrooms

Whenever I'm working with meat, I always trim off the bits and pieces I don't want (at that moment) and store them in the freezer. When I have enough, a new dish is born, like this one.
Take two large onions and dice them roughly, place in a deep pan or casserole with a clove of crushed garlic, some butter, salt and pepper to taste. Once the onions are transparent, add in your beef strips and brown evenly. Next, add in the Shiitake mushrooms, diced (allow to hydrate beforehand) and stir through. To complete the recipe, add cream to the mixture and turn the heat down, allowing a few minutes to simmer.
Meanwhile, boil rice, strain and return the rice strainer to the pot (with a little water) so that the rice can steam and become fluffy.
Follow me on Instagram: johncavernelis
Check out my Facebook page: Simple Foodies

Wednesday, 27 May 2015

Veggie soup

They say that necessity is the mother of all invention and I agree. When you open that fridge in the evening and there's "nothing" there, it's time to get creative. And thus is born my veggie soup. The ingredients, as you can well imagine, are dependent on what is in the fridge and for this particular occasion I used carrots, spring onions, onion, celery, green peppers, garlic, parsley and carrots. Just about any hard veggie will do.
Dice everything up as small as you can, add to a pot and add lots of water as well as salt and pepper to taste. Then boil away. The water will evaporate, leaving your soup quite thick. Add more water to achieve the consistency you desire.
Once all the veggies are soft your soup is ready. A final step (optional) is to blend everything together with a hand-held blender. If the resulting mixture is too thick, add milk to give it a creamier taste.
Follow me on Instagram: johncavernelis
Check out my Facebook page: Simple Foodies

Monday, 25 May 2015

Oxtail poitjiekos

Today is a special day in Argentina when people traditionally eat locro (see previous post) and since I made a pot for my guests, I thought I'd mix things up a bit with a typically South African dish called a poitjiekos (translates to food in a pot - go figure). Anyway, a "poitkie" is a three-legged cast iron pot (witch's cauldron style) and it allows for outside cooking that is done slowly, VERY slowly. In fact, this dish took three and a half hours to cook (which is great since you can attend to your guests, have a beer and even get in a few hands of cards or dominoes).
Using your hand, rub about 30g of butter inside the pot to which you then add an oxtail, 500g of mutton and 500g of chopped lamb ribs. Allow this to braise in the pot for about 15 minutes until brown.
Add 8 medium onions that have been diced, 250g of chopped bacon, 4 blocks of beef stock (broken up), 8 cloves, 10 peppercorns, 2 tsp mixed herbs, a stick of cinnamon, 1 red chilli chopped and pepper to taste (no salt is needed as the beef stock is pretty salty). Cook for another 15 minutes.
Remove the mutton and the lamb and set aside while adding 60ml of water and 125ml of red wine and cook for an hour without  removing the lid. Return the meat and cook for 50 more minutes.
Now for the veggies: take 500g of green beans and chop roughly and place in a circle against the edge of the pot. Now take a bunch of carrots that have been peeled and chopped and make another concentric circle. Last place a shopped cauliflower in the middle, completing the circle.
To finish off, take about 15 baby potatoes and 15 baby onions and pack them on top. Take button mushrooms and squeeze them into the sides of the pot. Take a green pepper that is finely diced as well as three sticks of celery diced and sprinkle on top. Last, take a packet of onion soup and sprinkle over everything. Replace the lid and allow to cook for a further hour and a half to two hours. At no point is the pot stirred. Upon serving, dish downwards to get a cross section of all the ingredients. Enjoy!!
Follow me on Instagram: johncavernelis
Check out my Facebook page: Simple Foodies